RV Toilet Replacement Guide for a Proper Fit
Posted by Brands Hut on Aug 26th 2026
A cracked bowl, a leaking flush valve, or a toilet that will not hold water can turn a weekend trip into a repair stop. This rv toilet replacement guide helps you identify the right replacement before you remove the old fixture, order a model that does not fit, or discover the water line is on the wrong side.
Most RV toilets are straightforward to replace, but they are not one-size-fits-all. The best choice depends on your existing floor flange, bathroom clearance, water connection, desired seat height, and whether you are replacing a gravity-flush toilet or moving to a different system. A few measurements and photos taken before you shop can prevent the most common installation problems.
Start by Identifying Your Current RV Toilet
Before selecting a new toilet, find the manufacturer and model number on the existing unit. Depending on the brand, the identification label may be under the lid, behind the bowl, near the pedal assembly, or on the base. Thetford and Dometic are common RV toilet manufacturers, and their models can vary in height, bowl shape, flush mechanism, and mounting hardware.
If the label is worn or missing, take clear photos of the full toilet, its base, the water supply connection, and the floor flange after removal. Measure from the finished bathroom floor to the top of the seat, from the rear wall to the center of the mounting bolts, and from each side of the toilet to nearby cabinets or shower walls.
Do not assume a toilet that looks similar will install in the same footprint. A taller residential-height RV toilet can make a small bathroom more comfortable, but its tank or rear housing may interfere with a wall, slide-out trim, or vanity. A compact low-profile model may be a better fit in a travel trailer with limited floor space.
RV Toilet Replacement Guide: Check These Fit Details
The floor flange is the connection between the toilet and the black tank. In many RVs, a standard RV toilet uses a two-bolt mounting pattern and a 3-inch waste opening. That is common, but verifying it matters, especially on older rigs, converted buses, and specialty trailers.
Check these four fit points before placing an order:
- Mounting pattern and flange opening: Confirm the number and location of mounting bolts, plus the diameter and condition of the floor flange.
- Water supply location: Note whether the water line enters from the rear, side, or floor and whether your toilet uses a hand sprayer or a pedal-operated water valve.
- Overall dimensions: Compare width, depth, and height with the available bathroom space. Leave enough room for the pedal, lid, and normal cleaning access.
- Bowl and seat height: Low-profile toilets conserve space, while high-profile models offer a more residential feel and are often easier for older RV owners to use.
Also inspect the floor around the base. Soft flooring, staining, or movement at the toilet can indicate a failed seal, water leak, or damaged subfloor. Installing a new toilet on an unstable floor can lead to another leak and a loose mounting connection.
Choose the Right Type of Replacement Toilet
For most RV owners, replacing an existing gravity-flush toilet with another gravity-flush model is the simplest path. These toilets use the RV's fresh-water system for flushing and drop waste directly into the black tank. They are familiar, easy to service, and available in several heights and bowl shapes.
A plastic RV toilet is typically lighter and more budget-friendly. It is a practical choice for many travel trailers and motorhomes, particularly when the old toilet was plastic and the bathroom sees regular but not heavy use. A porcelain bowl usually costs more and weighs more, but it offers a more residential appearance, a smooth cleanable surface, and a solid feel. Many higher-end replacements pair a porcelain bowl with a durable plastic base to balance weight and comfort.
The flush control also affects daily use. A foot-pedal toilet is popular because it leaves both hands free and lets you control how much water enters the bowl. Pedal designs commonly add water with a partial press and flush with a full press. Hand-lever models are simpler in some compact spaces, though they may feel less convenient for families or full-time RVers.
Composting and cassette toilets serve different needs. A composting toilet can reduce black-tank use, but it requires ventilation, routine solids and liquids management, and an installation layout that supports its vent system. A cassette toilet uses a removable waste tank and is more common in compact campers and certain European-style RV layouts. Neither is a direct replacement for a standard gravity toilet without planning changes to the bathroom and waste system.
What You Need Before Removing the Old Toilet
Plan the job when you have access to water, basic cleanup supplies, and enough time to test for leaks. Turn off the RV water pump and disconnect city water. Flush the toilet to relieve pressure, then drain or absorb the remaining water from the bowl. Emptying and rinsing the black tank first makes the work cleaner and reduces the chance of odors coming up through the open flange.
Have a replacement flange seal ready, even if the new toilet includes one. Seals, gaskets, and bolts are low-cost parts that are worth replacing during the job. You may also need an adjustable wrench, screwdriver, rags, disposable gloves, a small bucket, and a flashlight. Avoid overtightening plastic fittings or mounting hardware. RV bathroom components can crack when treated like heavy residential plumbing.
If your water valve or vacuum breaker has been leaking, inspect the supply line and fittings at the same time. A replacement toilet will not fix a damaged water line, a weak water pump, or a cracked fitting behind the wall.
Basic RV Toilet Replacement Steps
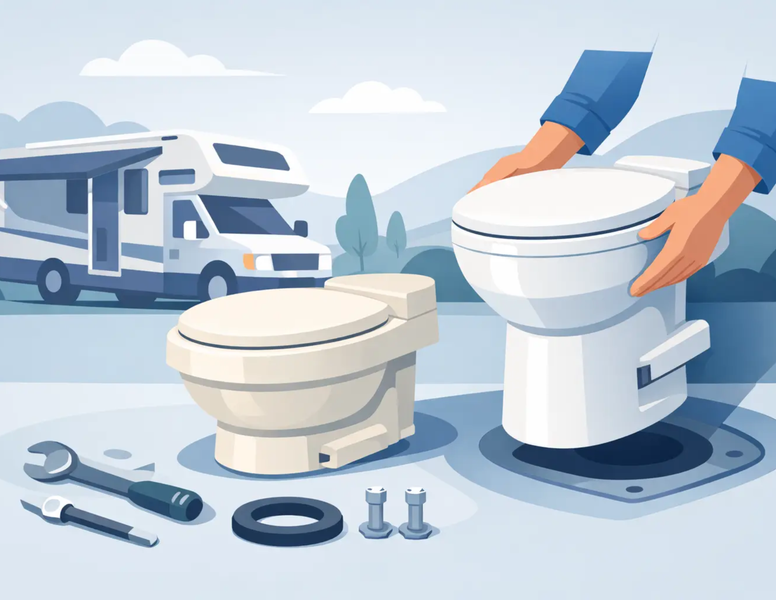
Once the water is off and the bowl is drained, disconnect the water supply line at the toilet. Keep a towel under the fitting because a small amount of water usually remains in the line. Remove the plastic bolt caps at the base, loosen the mounting nuts, and lift the old toilet straight up from the flange.
Stuff a clean rag loosely into the exposed waste opening while you clean the area. This helps control odor and prevents hardware from falling into the black tank. Remove the old seal, inspect the flange for cracks or missing bolt slots, and clean the mounting surface without damaging the flange.
Set the new seal and position the new toilet over the mounting bolts. Lower it evenly rather than rocking it into place. Tighten the nuts gradually, alternating sides until the toilet is secure and stable. It should not wobble, but excessive force can damage the base or flange.
Reconnect the water line, restore water pressure, and inspect the connection for drips. Add water to the bowl, flush several times, and look closely around the base and supply fitting. Check that the flush pedal or lever returns normally and that the bowl holds water after flushing. If water appears around the base, stop using the toilet and recheck the seal, mounting alignment, and flange condition.
When a Direct Replacement Is Not the Best Answer
Sometimes the toilet is not the real source of the problem. If the bowl will not hold water but the rest of the toilet is in good shape, the seal may be replaceable. If water runs continuously during flushing, a water valve or pedal mechanism may be the failed part. Replacing a serviceable toilet can cost more than installing the correct repair kit.
On the other hand, a full replacement makes sense when the bowl is cracked, the base is damaged, parts are discontinued, or repeated repairs have not solved leaks or poor flushing. It can also be a worthwhile upgrade if you want a taller seat, a porcelain bowl, or a more comfortable pedal design for extended travel.
For a direct-fit replacement, compare manufacturer specifications line by line instead of relying only on photos. Brands Hut can help RV owners narrow down compatible toilets and replacement parts using the details that matter most: existing model, dimensions, water connection, and mounting configuration.
A properly matched RV toilet should feel like it belongs in the bathroom from the first flush. Take the extra few minutes to measure, inspect the flange, and confirm the water connection before ordering. That small amount of preparation is what keeps a basic replacement from becoming a much larger repair.